Small Puzzles Made Easy
I was looking for an easy way to make small puzzles that others would be able
to do. For this puzzle that is 3 7/8 " diameter of the actual circle
puzzle. It could easily be enlarged to any size you want to make it. For a blade
I used the 8/0 jewelers blades from Sloan's Woodshop. It would need to be
enlarged a little to use a 2/0R blade. There are some Flying Dutchman puzzle
blades that may be small enough to cut it this size, but I have not tried them.
For wood I used 1/8" Baltic Birch Plywood for the puzzle. The optional
frame I used 1/8" for the frame and 1/4" for the back plate.
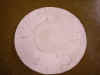
After the puzzle was cut I used a wood burner to burn the picture onto the
wood. A picture could have been glued to the wood and cut out, but I have found
that even with the very narrow saw kerf, it still distorts the picture a little.
That is why I chose to burn the image on after the pieces were all cut out. The
picture is correct now, with no distortion from the kerf.
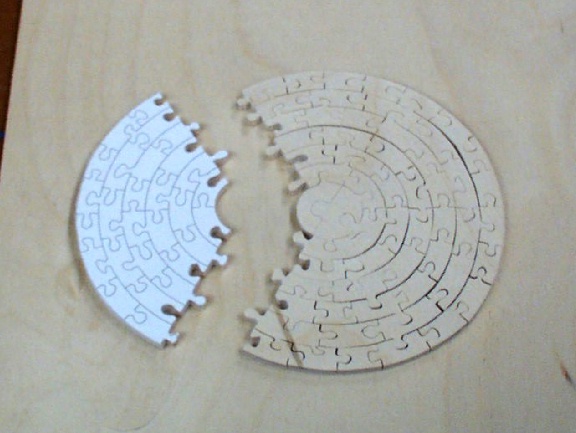
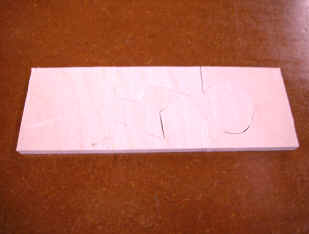
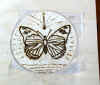
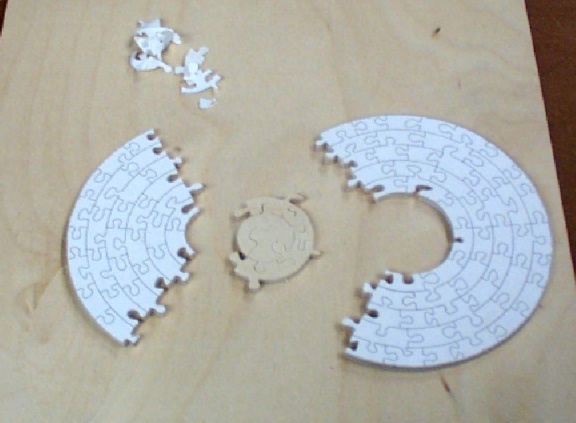
 I
started out by cutting the circle then cutting it into smaller blocks. The cut
each ring of the puzzle block , and then cut the individual pieces from the ring
section. You will need a zero clearance table insert to do this size. A quick
simple one is to tape a business card over the slot in the table.
I
started out by cutting the circle then cutting it into smaller blocks. The cut
each ring of the puzzle block , and then cut the individual pieces from the ring
section. You will need a zero clearance table insert to do this size. A quick
simple one is to tape a business card over the slot in the table.
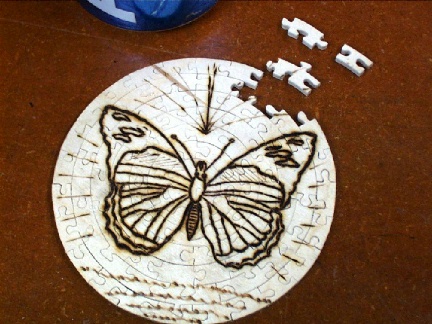
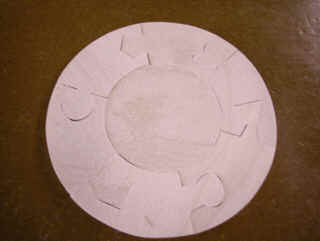
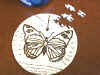
 Cutting
in progress. Notice I try to keep the puzzle together as I go. It can be put
back together , but I am building it now, so don't want to take the time to
assemble the puzzle after it is cut. Cut a few pieces of the puzzle , place them
on a board in place then cut a few more pieces. An easy way to keep the pieces
in order.
Cutting
in progress. Notice I try to keep the puzzle together as I go. It can be put
back together , but I am building it now, so don't want to take the time to
assemble the puzzle after it is cut. Cut a few pieces of the puzzle , place them
on a board in place then cut a few more pieces. An easy way to keep the pieces
in order.
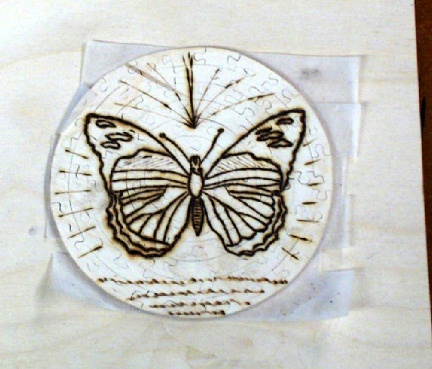
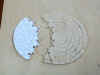
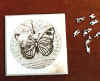
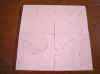
 After
the puzzle is cut I use scotch tape and cover the front. Then turn it over and
sand the back. Wipe or blow the dust off then tape the back, remove the tape
from the front and apply the pattern to burn onto the front. The tape holds the
pieces in place so you can burn the pattern onto the wood. After the burning is
complete I spray with a light coat of Deft spray lacquer. Let that dry, lay the
puzzle on it's face , remove the tape and light spray on the back side.
After
the puzzle is cut I use scotch tape and cover the front. Then turn it over and
sand the back. Wipe or blow the dust off then tape the back, remove the tape
from the front and apply the pattern to burn onto the front. The tape holds the
pieces in place so you can burn the pattern onto the wood. After the burning is
complete I spray with a light coat of Deft spray lacquer. Let that dry, lay the
puzzle on it's face , remove the tape and light spray on the back side.
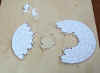
 At
this point the puzzle can be done as used as a no frame puzzle.
At
this point the puzzle can be done as used as a no frame puzzle.
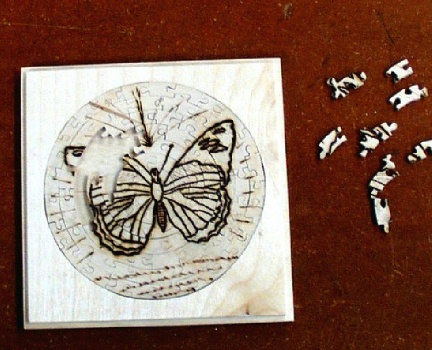
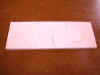
 I
chose to build a frame for the puzzle to set in. Lay the finished puzzle on the
wood and trace around it. That was the kerf does not effect the way the puzzle
fits the frame. Cut the frame from 1/8" plywood, then I cut the back a
little larger to give a stair step to the frame, and the back from 1/4"
plywood.
I
chose to build a frame for the puzzle to set in. Lay the finished puzzle on the
wood and trace around it. That was the kerf does not effect the way the puzzle
fits the frame. Cut the frame from 1/8" plywood, then I cut the back a
little larger to give a stair step to the frame, and the back from 1/4"
plywood.
Sand and finish the frame, place the puzzle inside.
Patterns for some of the mini puzzles. PuzzlePDF
 Puzzle 3 piece
 Puzzle 4 piece
 Circle
Puzzle
Circle
Puzzle
Multiple piece circle Puzzle
Larger Puzzles
#3
36 Piece
#4
49 Piece
#5
64 Piece
#6
81 Piece
#7
Larger
Can someone make this one.
 I
started out by cutting the circle then cutting it into smaller blocks. The cut
each ring of the puzzle block , and then cut the individual pieces from the ring
section. You will need a zero clearance table insert to do this size. A quick
simple one is to tape a business card over the slot in the table.
I
started out by cutting the circle then cutting it into smaller blocks. The cut
each ring of the puzzle block , and then cut the individual pieces from the ring
section. You will need a zero clearance table insert to do this size. A quick
simple one is to tape a business card over the slot in the table.