Mcnaughton Tool
Well I finally decided that I had a lot of large wood to turn into bowls. I turned one chunk and filled 2 big garbage bags with shavings. I looked at that and thought what a waste. That was a nice chunk of wood I just wasted. Then I thought about the large chunks of crapapple and walnut I had sitting out back. Especially the walnut. By time I turned one bowl from a big chunk I would have a lot of sapwood and some walnut for a bowl. But I would have a big pile of nice pure all dark walnut shavings on the floor. That was it, I just couldn't take the thought of a whole tree of walnut being turned into shavings. So that is what made me order the Mcnaughton Tool. I ordered the Kel Mcnaughton System/standard set from Woodcraft. http://www.woodcraft.com/product.aspx?ProductID=127676&FamilyID=1618
Well I read everything I could find on the web about it. I had found some good site. http://www.wonderfulwood.com/articles/bowlcoring.html, http://www.woodturningvideosplus.com/mcnaughton-center-saver.html, plus a lot more articles. Thought I really had a good handle on it. The tool finally came after a 5 day wait. And I just knew that I had it figured out.
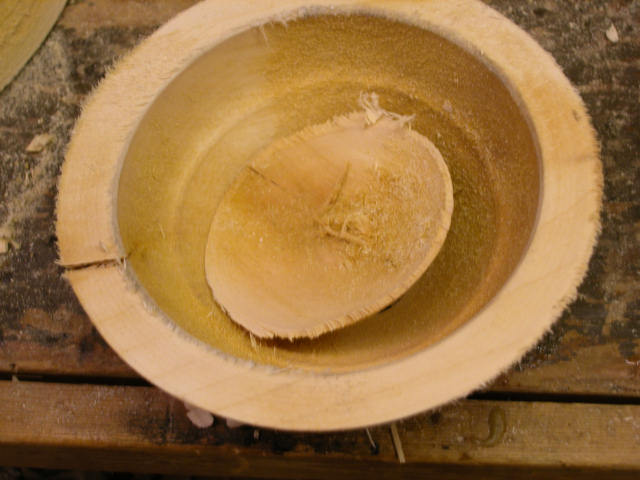
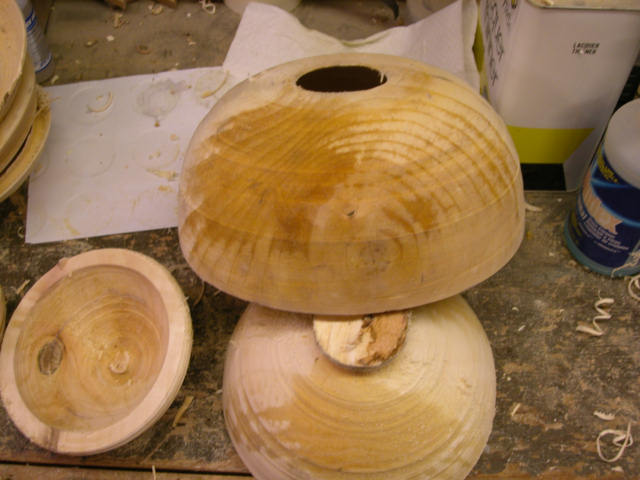
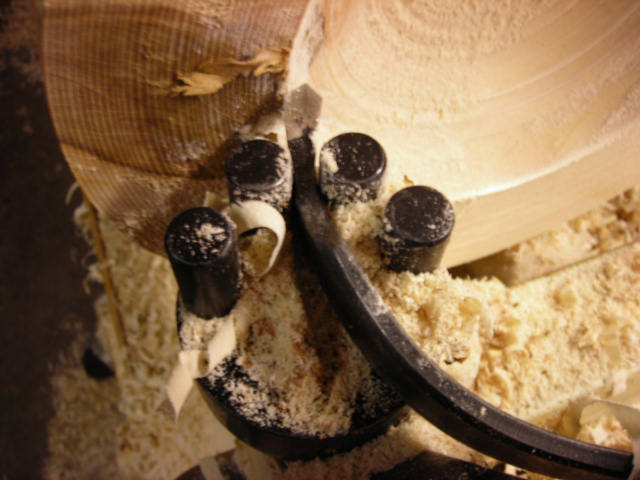
So it was time for the first run. I had my birch log cut and ready. The setup was easy, it looked so simple. I knew they said just line up the tool on the line and push. That is just what I did and I made some nice funnels.
Cut the bottoms of every one of them short. At least the biggest bowl was a save, so I didn't waaste any more wood that I would have without the tool. Now I had it I just knew I could do it right the next time. So another log and lets try again.
Yep I had it figured out I thought. Then came the last bowl.


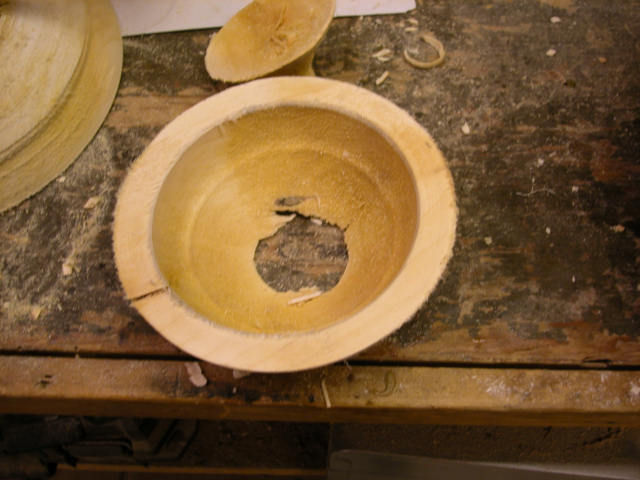
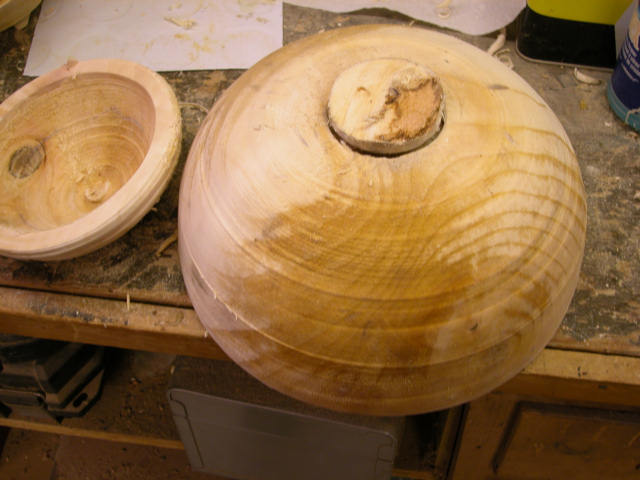
It was looking good when I was cutting, then it finally popped off. I didn't make a funnel of the smaller bowls like before. I made a funnel of the large bowl.

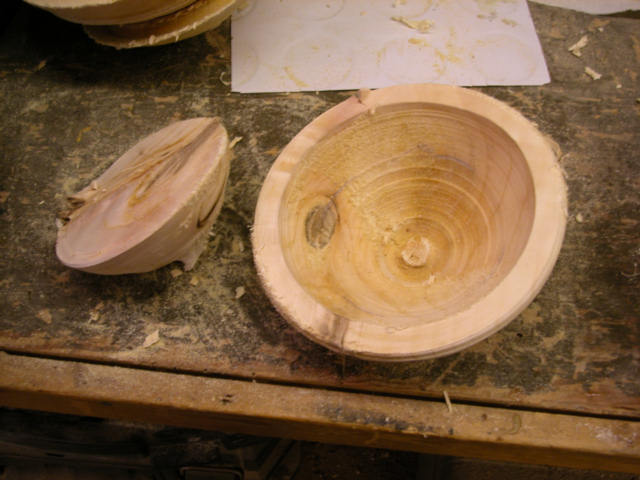
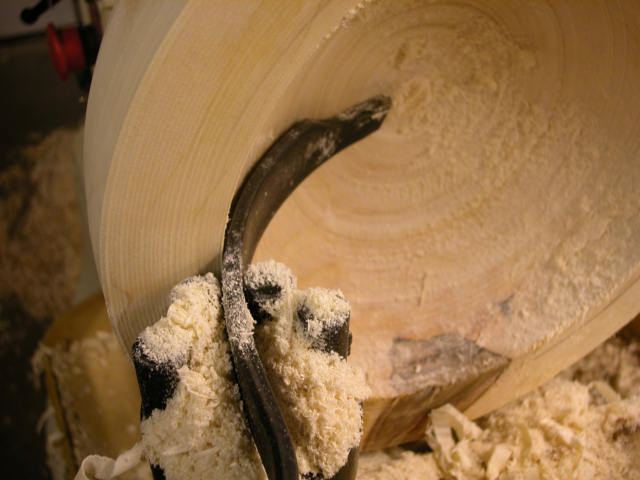
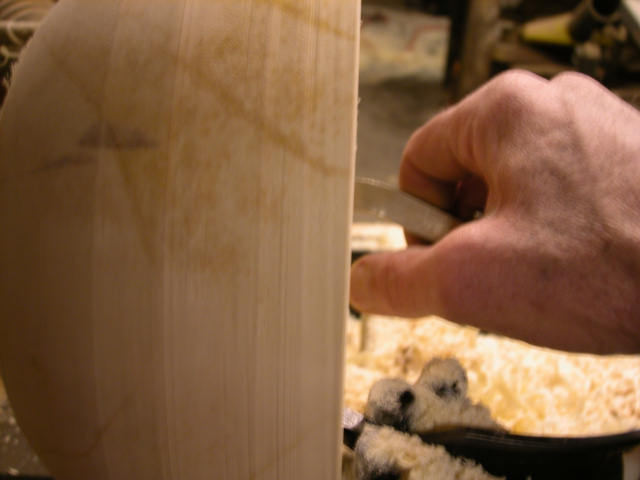
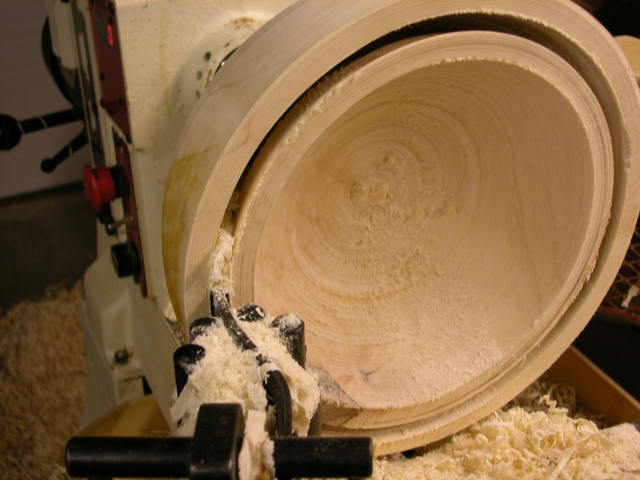
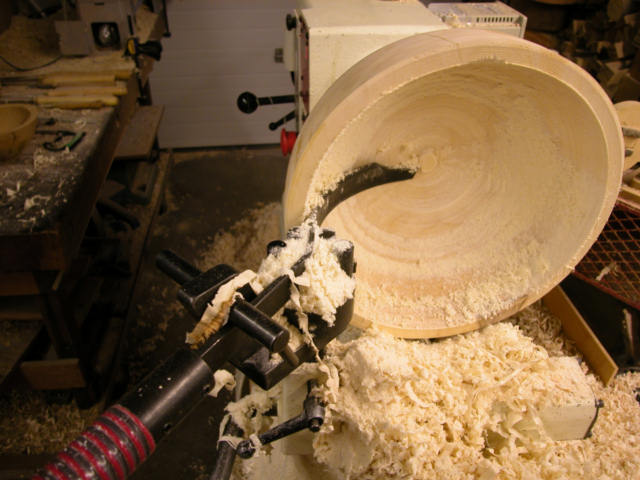
Now to try to figure out what went wrong with these two trys. The blade lined up right where it cut. Then I looked at my favorite article listed above, and I relized what she was saying about the draw out the tool path. The first picture is where the tool went. The second picture is where I started. Yep the arc follows just like the pictures she drew in the artilce.
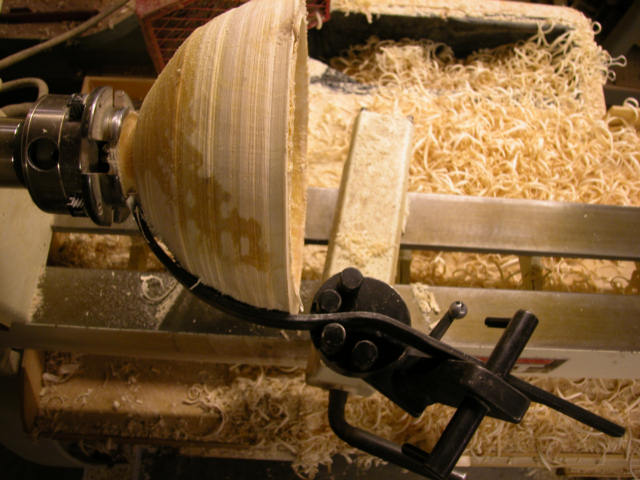
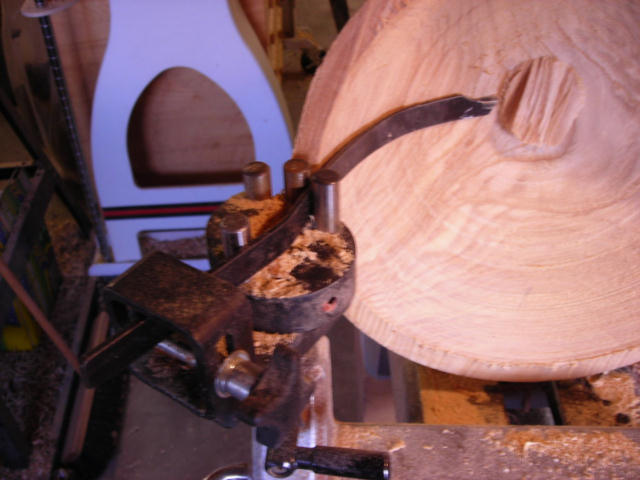
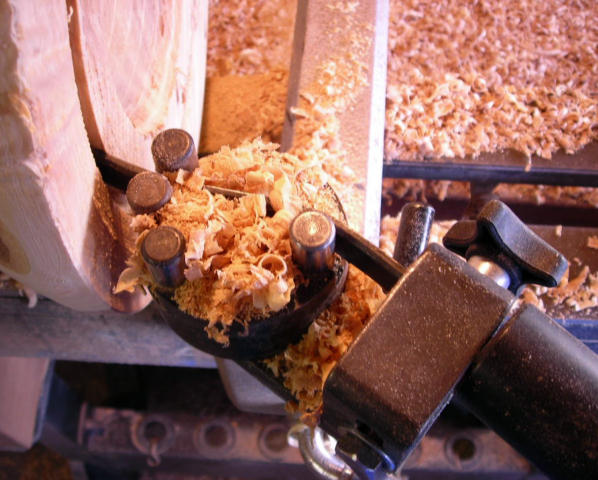
So now is time to take what I learned form these two mistakes and try again. The third time is a charm they say. So lets look at some of what I had learned by now. The tools sits in the rest and can be forced right or left in the posts. I have decided that using the tool pushed to the left like the first picture works best for me.
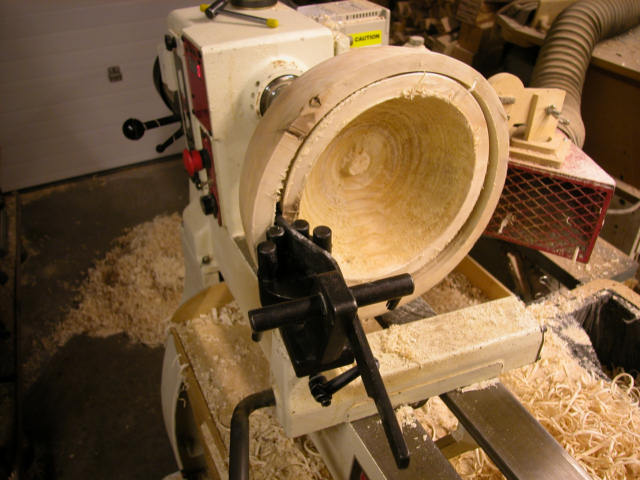
I have stopped the lathe a few times, I run about 500 speed. The main thing is the tool held up against the T support as described in the article there is no bucking and jerking I thought there might be. As for feeding the tool I find putting the palm of my hand on the end of the handle an pushing at the tool post is best. Sometimes I rock the end back and forth in maybe a 1" swing to get the tool moving and help it glide through the tool post better. But as it says you don't want to pull the handle toward you as it is cutting, That will cause it to flex and run off path. A push from the butt of the handle straight at the tool post seems to work the best. That seem to make the tool glide right around like it is suppose to do. Back out to clear chips if they seem to be building up. Many cuts was just one long push, never having to back out. But other cuts the chips seemed to clog up and I needed to back out more. Depends on the wood I guess.
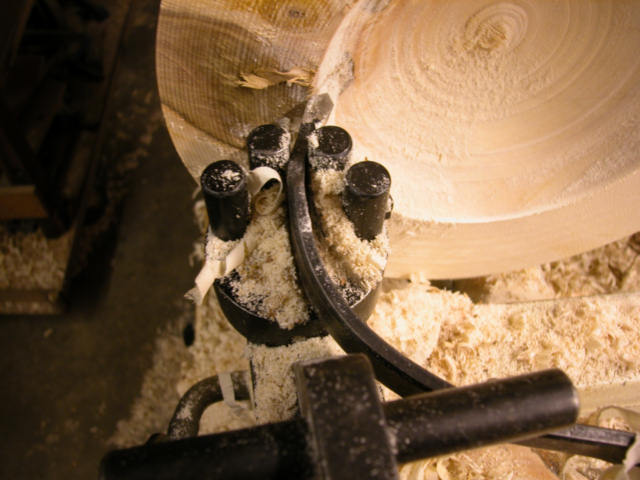
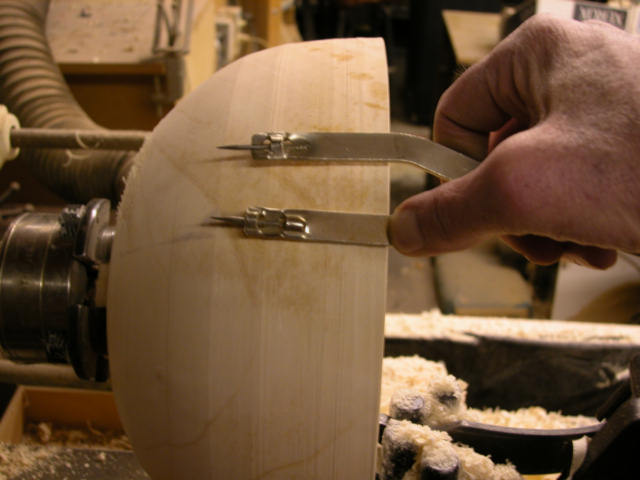
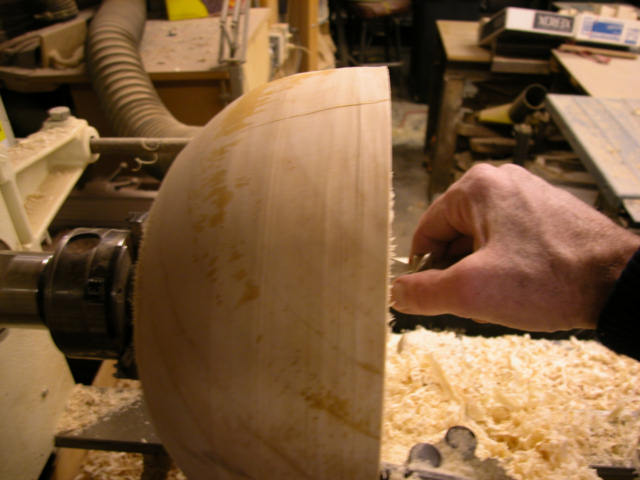
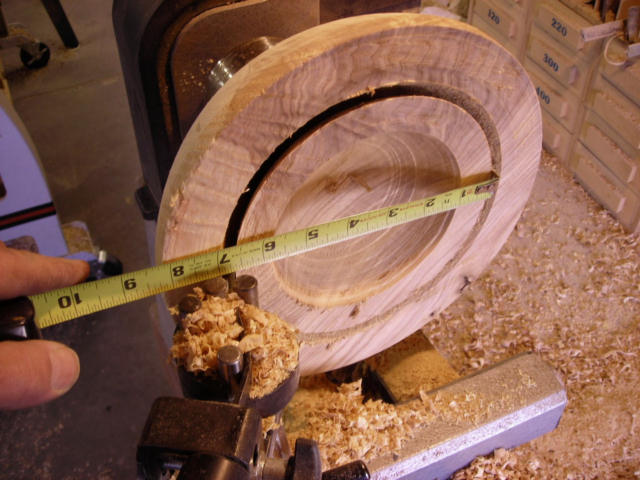
Then you marked where you wanted to start the cut. Set the post height so the cutter is at center line of the bowl.

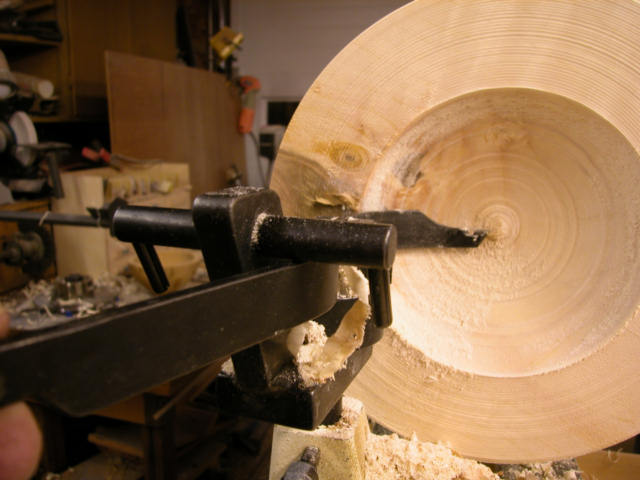
Then look at the arc of the tool. And that is where the tool is going to cut. Sure looks easy now, why couldn't I understand that in the beginning.
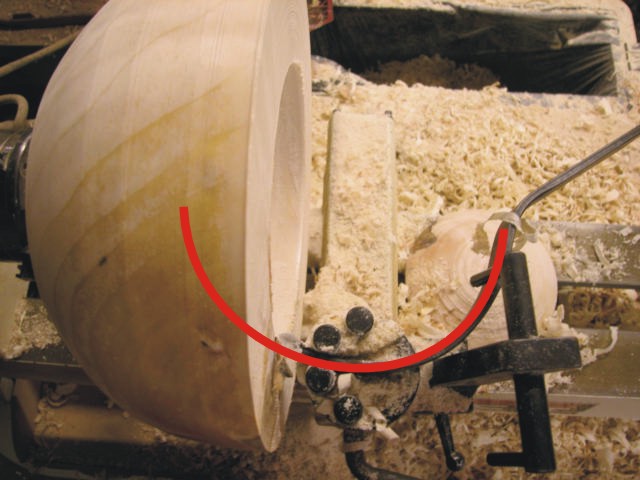

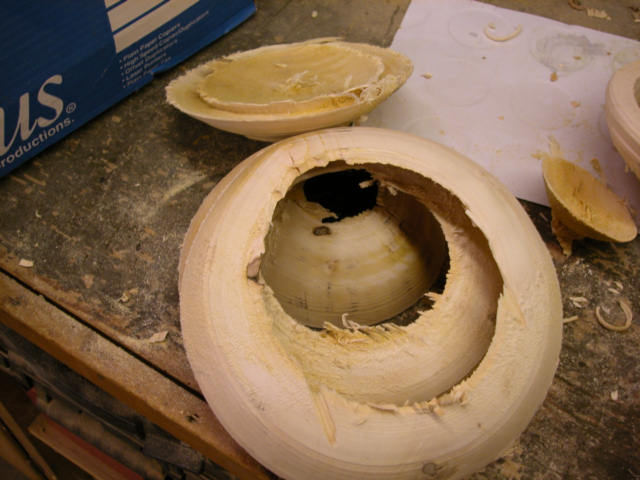
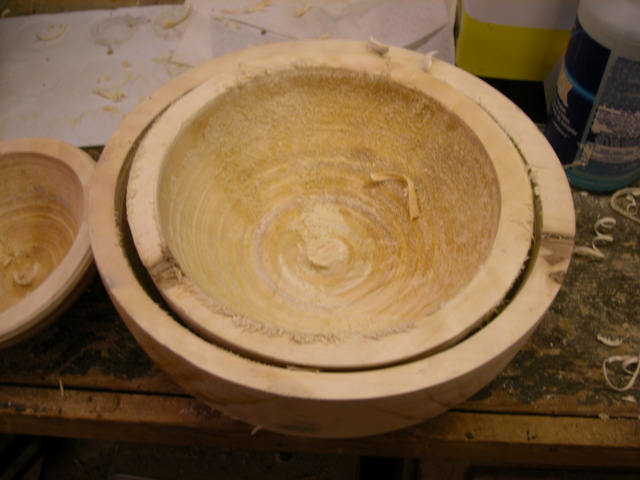
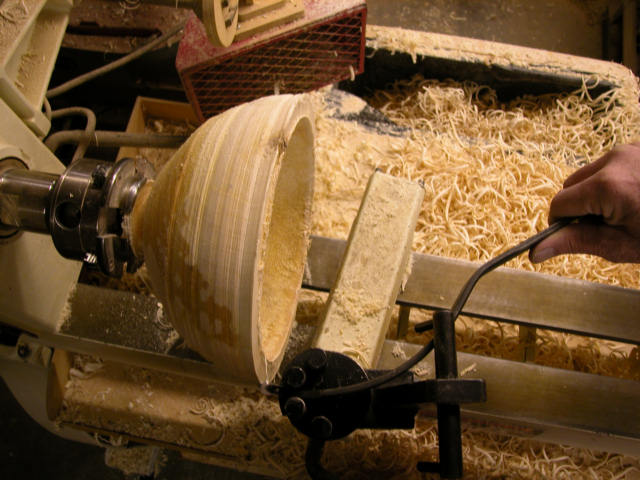
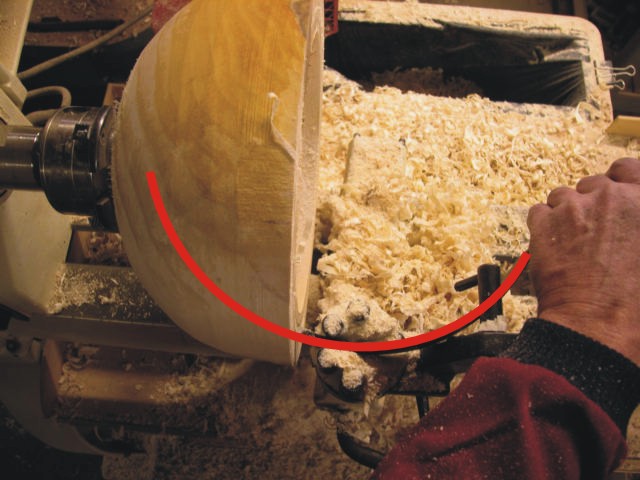
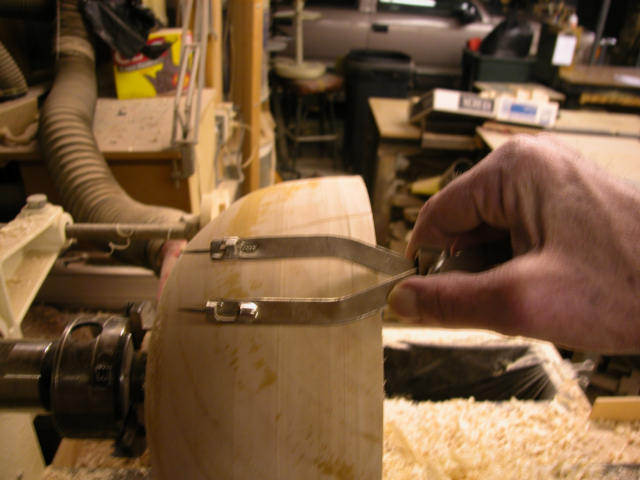
Just where I wanted it. Buy moving the tool post, but still start cutting on your line, you change the angle of entry into the wood and make the arc line up where you want the cut to end. Cutting the next one out worked just like I planned. Follow the arc of the tool in the first picture and compare it with the outcome of the last picture.
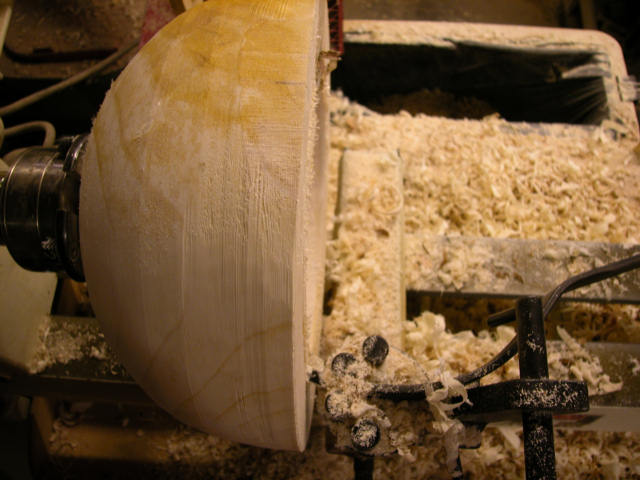
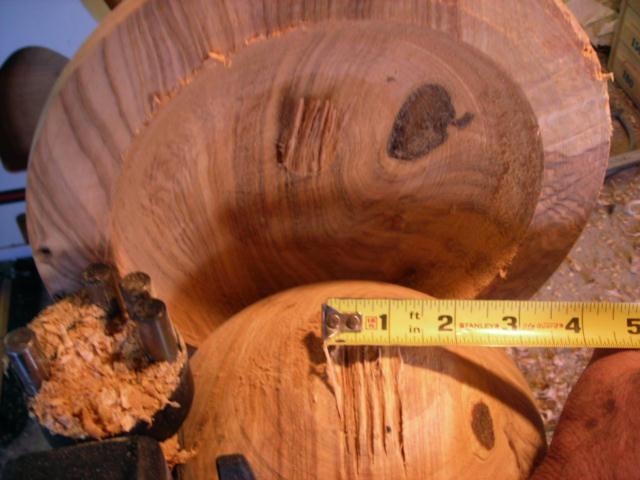
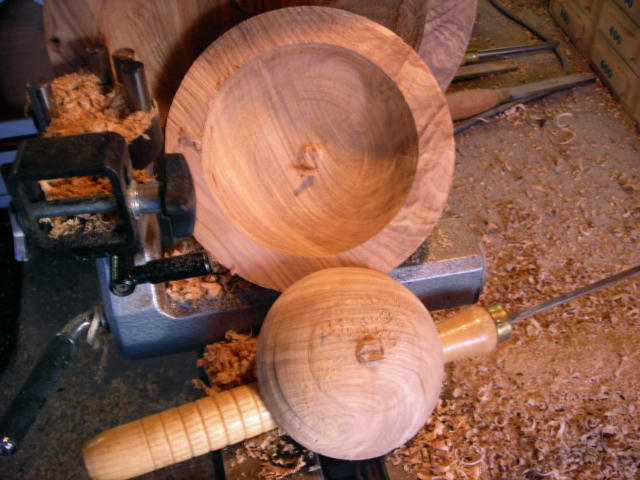
So now the last one. And it actually came out just like the red line in the first drawing. The bottom area of the bowl was a little thick, but that had to do with the outside shape I had already cut the bowl to, but a little cleanup with the bowl gouge and it was a saver. I actually saved all 4 bowls from this set.
So the tool does what it says. There is a learning curve I found out. But I hope my links, pictures and comments help you have better luck that I did at first. After figuring out that not just lining up the cutter with the line you want to cut, but you also had to line up the angle of entry, things worked better. Without pictures I just didn't grasp that in the beginning. I really think now that using the different cutters, it came with 4 different tools, I can make shallow to deep bowls with only a few problems. Like the article I like said, after about 25 bowls you should have it figured out.
Additional notes to a forum question:
I am still learning with it. It all comes down to the right angle at the entry. Makes a big difference what angle you start into the blank at as to how deep the cut blank is made.
I also adjust the speed as I am going a little more now. On a 10" blank I will run about 800-1000 to start then slow down to around 500-600 as I get closer to the end of the cut. The speed seems to be more of what do I feel comfortable running with. Some blanks seem to cut easy and the next one seems to just want to grab and tear the blank out of the chuck. They all go a little different, maybe it is how dry the blank is , I am just not sure.
The one thing that does help is to touch up the cutting edge with a diamond hone before each use. Just a few strokes of the hone seems to make a difference. And if you let it go too long it takes a lot of hone strokes to get it back to sharp.
I also find that holding the blade up against the top of the stop keeps from have any big jerk catches. But then the cutting mostly keeps the blade pulled up there anyway. But to help in cutting and feeding I do rock the handle up and down a little. Maybe just pulling the end of the handle down an inch at most as I keep pushing inward. That slight rocking up and down seems to help clear the chips out of the cut as you go. Just don't try to lower it too far or a catch will be drastic when the blade slams back up into the stop.
Short video of the process of coring a bowl set.
Micro set
I purchased the Micro set to use on my Delta 46-460 Midi lathe that is a 12" lathe. I have found so far that it will not do the sizes of bowls I think it should. Part of the problem I think it the tools were made for the T-Bar system, and when they changed the design to the loop system they did not make the tool any longer to make up for the extra width of the loop.
On a little bigger bowl the same problem.There is just enough of the tool left for the handle to hook onto with one screw and it still won't reach the center.